Placing Rides
You don't have to build a coaster to have one. The add-on ships 18 finished rides, and the Structure Placer drops any of them into your world in one go.
In Creative they are free. In Survival you have to feed the placer the materials first.
New to the add-on? Place the Tutorial Structure first — see Tutorial Structure.
Placing a ride
Put down a Structure Placer
Stand where you want the ride and place the block. Leave plenty of room around it.
Pick a ride
Interact with it. A menu lists every ride, grouped by category. Choose one.
Check the preview
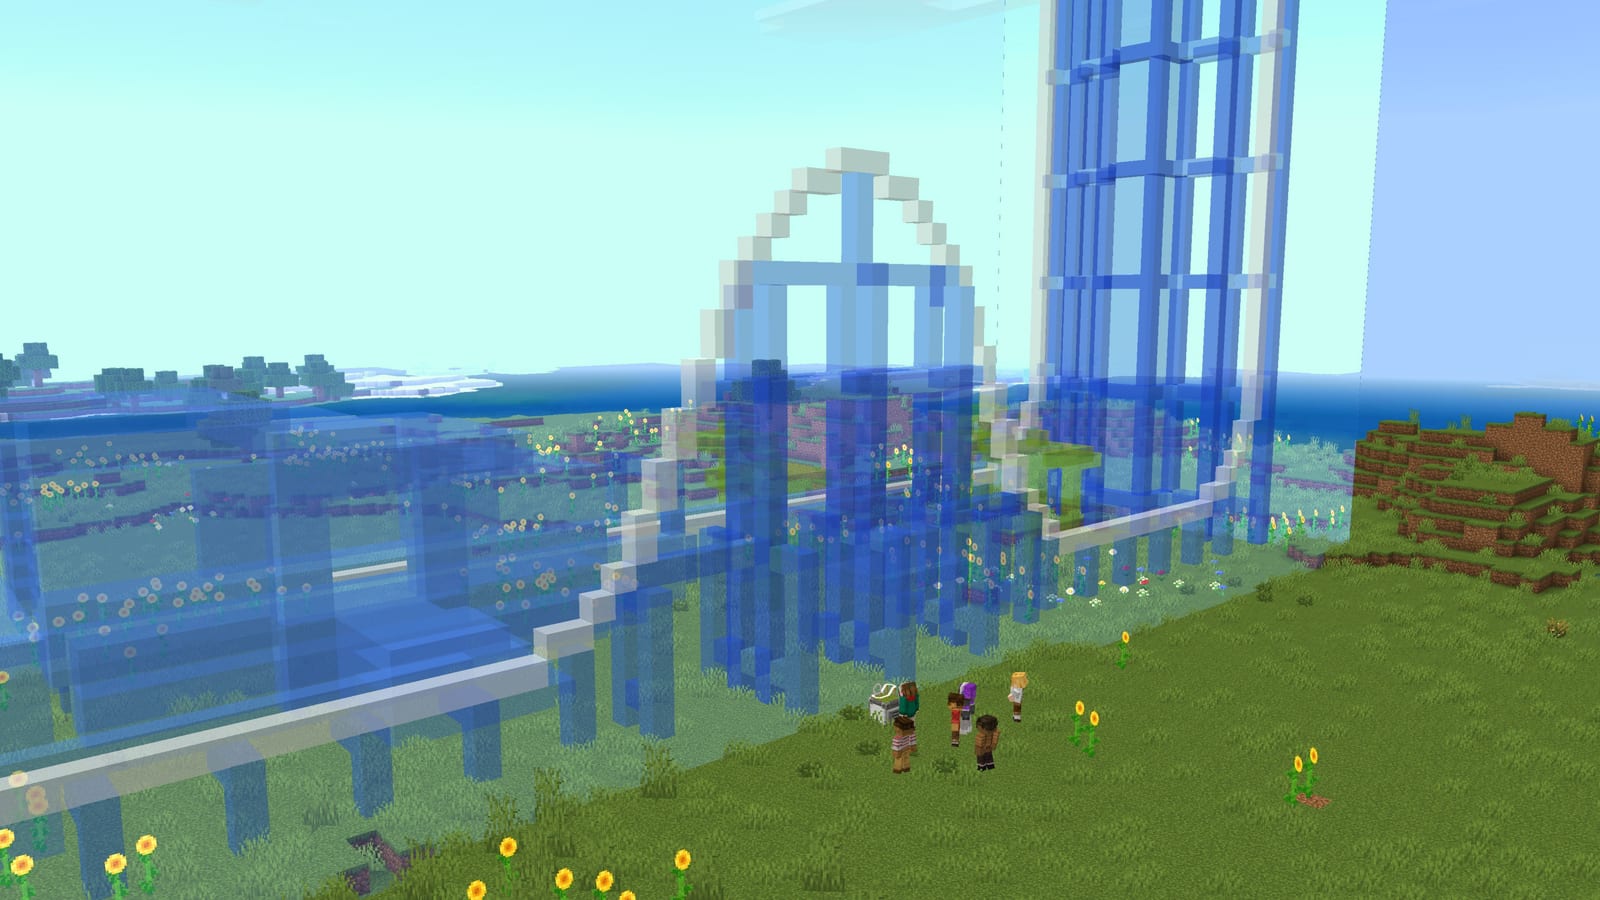
A see-through version of the ride appears, with a floating list of the materials it needs.
Turn it if you need to
Interact again and press Rotate 90° until the entrance faces the right way.
Place Structure
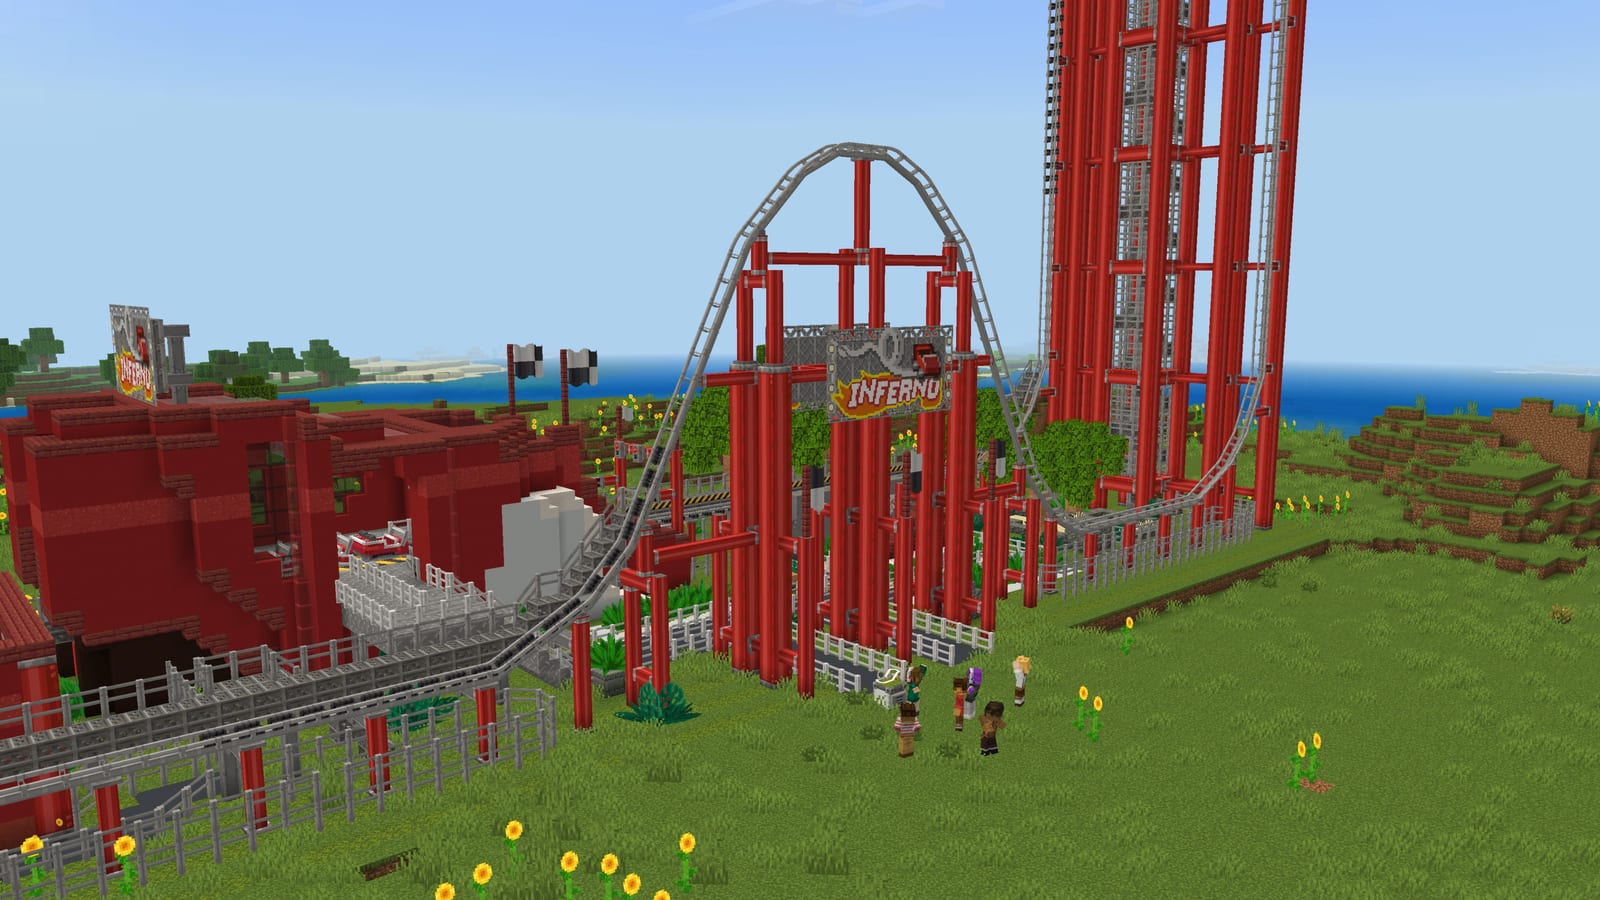
Confirm. The ride builds itself, and fireworks go off when it's finished.
Paying for it in Survival
The floating label above the preview is your shopping list. Each line shows what the ride needs and how much
the placer is holding, like 320x Coaster Rail (64/320).
Interact with the placer's drawer to put materials in. When every line is green, Place Structure works.
In Creative it is Free to place.

Rides are expensive. Inferno alone wants 320 rails, 448 beams and 448 pillars. Check the ride's own page for the full list before you start mining.
Lining up the preview
Every ride has its own built-in facing, so the preview may not appear pointing the way you expect. That is normal. Use Rotate 90° and line up the ride's entrance rather than trying to guess from the outline.
Remove Preview clears it if you change your mind. Nothing is spent until you confirm.
After it's built
A placed ride is made of the same blocks you would have used yourself. Nothing about it is locked.
Its Station Rail, Track Controller and Signal Converters can all be re-wired with a Coaster Wrench or a Signal Remote, exactly like track you built by hand. See Redstone Signals.
Take one apart to see how it works. That is often the fastest way to learn a new piece.